Set-Up Boxes
How to Make a Set-Up Box
时间:2018-8-7 17:17:02 浏览:次
How to Make a Set-Up Box
Two Radically Different Approaches to Packaging
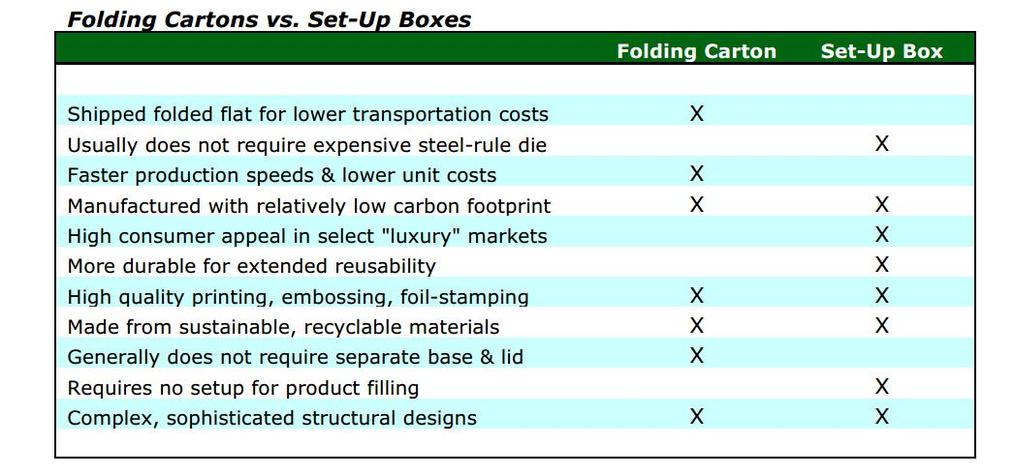
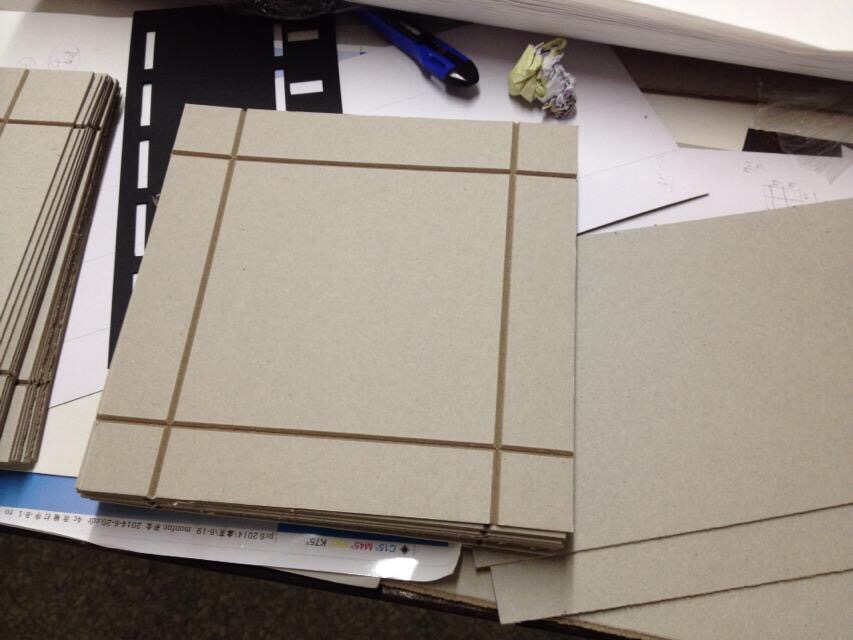
Before we investigate the actual manufacturing process, let’s consider the differences between a folding carton and a set-up box. At first glance, it may be difficult to tell them apart. The base and lid on the left look pretty much the same as the boxes on the right.
Take a closer look, however, and you’ll see that the panels on the box on the left have been folded over to make up the box. The lid on the right is made from a single piece of chipboard, cut-scored to fold, with the sides held together by tape. The sample on the left is a folding carton; the one on the right is a set-up box.
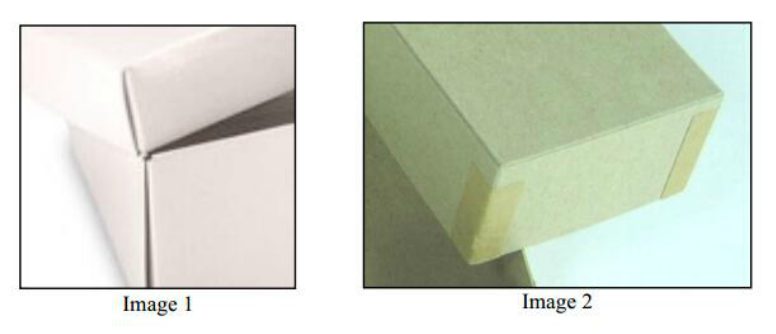
A set-up box can be distinguished from a folding carton in three major ways:
❒ Once manufactured, a set-up box will not collapse like a folding carton, hence its other interchangeable name –rigid box.
❒ The chipboard substrate used for the walls of a set-up box is as much as four times thicker than the paperboard used to make a folding carton.
❒ Unlike folding cartons, printing is rarely applied to the chipboard, but rather to a separate “wrap” of paper which is then adhered to the plain box.
A wide variety of wraps may be applied to a set-up box, including padding, leather, fabric and flocked (a decorative finish accomplished by applying fine fiber particles to the adhesive coated surface of the paper).
Each type of paperboard packaging has its uses. Here is a comparison of some of the advantages of each method of manufacture.
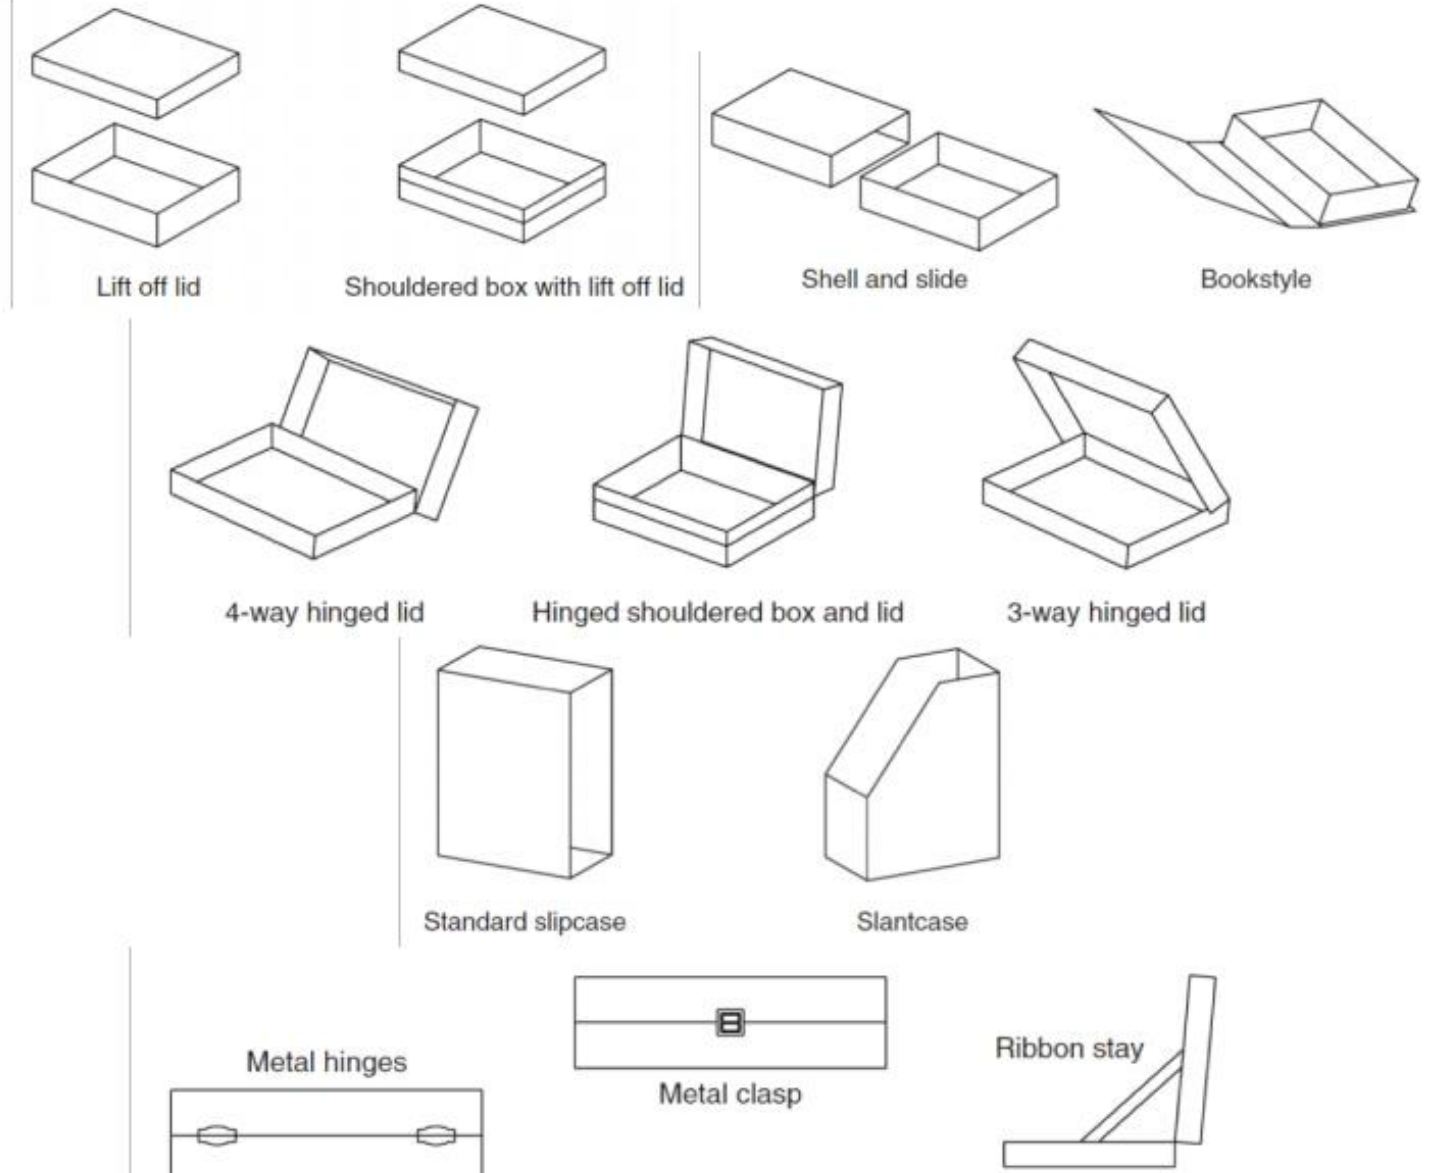
Set-up boxes have been in use since the late 1800’s. Today, there are many variations of possible styles, some of which are illustrated below. For our purposes, we will describe the manufacture of the most basic style, the wrapped set-up base and lid.
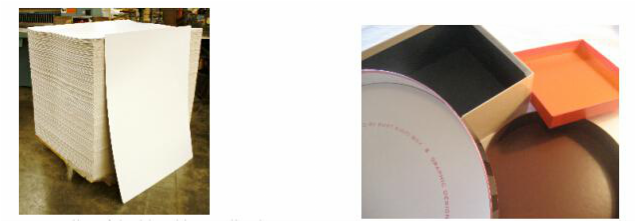
Non-bending chipboard, the material most often used for rigid boxes, may range from .040 (40 thousandths of an inch) to .080 or more. Compare this to folding cartons, whose stock may vary from .010 to .036. Note that there are many types of substrate used by folding cartons depending upon the end use of the packaging, but most set-up boxes use chipboard. This is because in set-up box manufacturing, the finishing is done to the wrap, not the substrate.
The exception is when a material called white vat-lined chip is used. In this case, the chipboard is lined on either one or both sides with a white coating made from newsprint, giving the box a more finished appearance. This stock works especially well if the interior of the box is to remain unfinished, or unlined. By contrast, Image 5 shows some samples of lined boxes.
The goal in set-up box manufacturing is to bring the wrap and the formed chipboard lid or base together, adhering them in perfect alignment before forming the finished tray. Of the six fundamental steps in the production of a set-up box, two make the box, two produce the wrap, and two bring them together to produce the tray: for the tray –scoring and staying; for the wrap —printing/preparation and applying adhesive; and finally, for the completed tray -spotting and wrapping
The Tray
Cutting and Scoring
We start with a cut-scored tray, which depending upon the box’s dimensions.
The simple steel rule die for the tray contains knives (the black lines) for cutting out the overall shape from the chipboard, and cut-scores (the red lines) for allowing the panels to fold. Cut-scores only partially penetrate the chipboard, allowing bending without tearing.
Staying
Set-up boxes can be made without stay tape, but for added stability, ¾” wide adhesive backed tape is applied to the four corners of the tray on a machine called a quad stayer. Two of the four rolls of tape are clearly visible; the other two are blocked by the ones in front. The chipboard blanks are fed into the machine, a plunger forms the box, tape is applied and heat-sealed to the tray.
The Wrap
Printing/Preparation
Not all set-up box wraps require printing, but this option, plus foil stamping, embossing, debossing and other decorative techniques; almost anything that can be glued to chipboard and formed into a box are available.
Whatever wrap is used, it must be trimmed before adhesive is applied. The corners are cut away or mitred so that when the box is formed, the wrap makes a perfect transition from two-dimensional blank to three-dimensional box.
Gluing
There are two methods of adhering the wrap: tight wrap, the most typical technique; and loose wrap. The tight wrap method applies adhesive to the entire back surface of the wrap. In Image 7, a corner cut wrap has just left the gluer on its way to the spotting station, where the formed lid or base will be positioned and placed onto the wrap. Loose wrap is generally applied only to the lid of a box, and as the name implies, the wrap is only spot-glued at the edges, leaving the top panel without adhesive. The purpose of this type of gluing is primarily aesthetic: a box made with a loose wrap
appears to be hand-made, and therefore a more expensive package. Back when much of the production was indeed done by hand, loose wraps were more common. But in today’s automated environment, loose wrap constitutes only a small percentage of total production.
This brings us to the last two stages of production, where the wrap and tray meet to become a finished piece.
Completing the Lid or Base
Spotting
The term spotting is derived from the days when an operator would position, or spot the lid or base onto the wrap, “eyeballing” the correct position. While this operation is still done manually in some operations, with the advent of electronic eyes and more sophisticated positioning equipment, the process is becoming more and more automated.
The wraps, adhesive-side up, move along a conveyor from the left. The lid or base, having been formed in the quad stayer, moves toward the operator from the top of the diagram. The operator then carefully (and quickly) places the tray onthe glued surface of the wrap. From there, the box moves to the right toward the wrapping station.
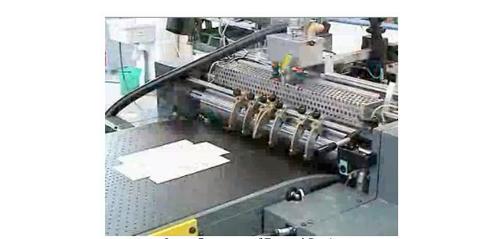
In an automated line, the spotting station appears as it does in Image 8. If you look closely at the top center of the shot you can see a machine-positioned base descending toward the wrap below. At the bottom left of the picture is a base that has just left the station, now ready for wrapping.
上一篇:NO 下一篇:NO